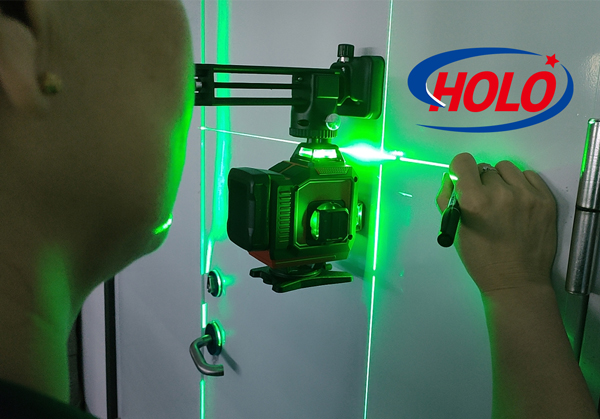
Cross line laser levels are used to provide horizontal and plumb lines, and are often used in construction and renovation projects to ensure the accuracy of construction. Here is how to use the cross laser level plumb line:
Preparation
1. Check the instrument: Make sure the cross line laser level is in good working condition. The battery is sufficient, and the laser is not damaged.
2. Choose a suitable environment: Make sure the working environment is as stable and light as possible. Avoid strong sunlight or other light sources directly shining on the laser.
Installation and adjustment
1. Lay the instrument flat: Place the level laser on a stable surface. Best cross line laser level is usually equipped with a built-in level bubble to ensure that the instrument is placed horizontally.
2. Adjust the level: Use the adjustment screw on the instrument to center the level bubble to ensure that the instrument is placed horizontally. This is crucial to the accuracy of the laser line.
Use the plumb line
1. Start the laser: Turn on the cross line laser level and select the plumb line mode. Usually, the instrument will emit a vertical laser line.
2. Set the plumb line: Align the plumb line to the target position as needed. For example, mark a point on the wall and make sure the laser plumb line is aligned with that point.
3. Check and mark: Mark the position of the laser line where needed. You can use a pencil or other marking tool to mark on the wall or ground.
Finishing work
1. Turn off the instrument: Turn off the cross line laser level after use and clean the instrument for next use.
2. Storage: Store the instrument in a dry, dust-free environment to extend its service life.
With the above steps, you can effectively use the plumb line function of the cross laser level for precise measurement and construction.

